
When you turn the key in the ignition of an E46 3 series the car goes through a test sequence for the headlamp auto levelling feature. The headlamp adjusts to point fully downwards then back to straight ahead position. That's the idea anyway.
Every now and then the driver's side headlamp auto levelling feature would stop working. Every now and then turned into quite regularly, then it stopped working altogether.
You can see in the video below the passenger side lamp following the sequence and the driver's side stationary at the bottom of the movement.
During winter I almost exclusively drive the car in the dark on country lanes, travelling to and from work, i.e. really not a good idea to be driving almost blind in these conditions.
I hopped on eBay and managed to pick up a bit of a steal. I got a replacement headlamp in what looked to be excellent condition for £25.


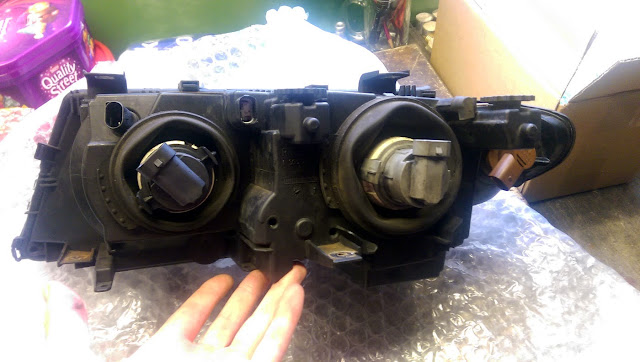
Taking a bit of a gamble that it actually worked, I set about giving it a thorough clean. I first cleaned the exterior, then unclipping the seal revealing a bit more grime.


With the exterior now decidedly cleaner, I could take the lens off without any dirt falling in. However, I noticed that the indicator lens had a crack in it from where a stone had hit it. Luckily though, the facelift lamps are split in two, so I just swapped out the new one with my original. The two lamp units are held together with a screw at the top with a rather elaborate plastic surround.
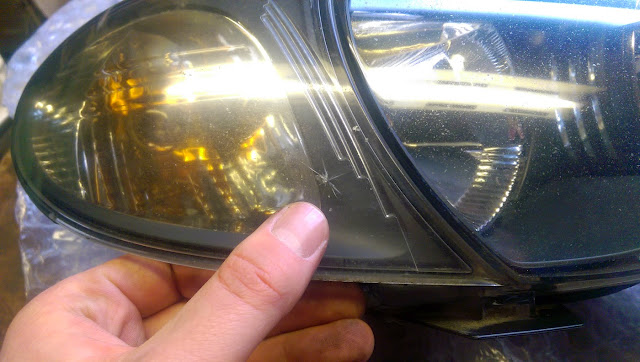

The main headlamp lens is quite simple to remove, it's not glued on so doesn't require any culinary skills to melt it in the oven etc. There are several plastic clips around the edge of the lens, simply unclip and pull the lens away from the housing.

I didn't use any product on the lamp internals to try and avoid any smearing or adverse reactions with the finish of the parts. Using a fresh microfibre I basically gave the thing a good dusting.

Before I had chance to do anything clumsy, I reattached the lens and grabbed some new detailing products I'd been wanting to try.
I'd picked up GTechniq's clear screen kit to apply to my windscreen, but thought it'd be perfect for the lamps too.
The kit includes a polish - G4 Nanotech Glass Polish* - and a hydrophobic coating - G1 ClearVision Smart Glass* - that makes water and fluid grime bead up on contact and run right off.
I started by polishing the lens using the G4 Polish and a clean microfibre.

Once I'd worked the polish into the lens, I buffed the lens clear with another clean microfibre.
Lastly, I applied the G1 ClearVision Smart Glass using a final clean microfibre cloth, and once dried buffed clear with the opposite end of the clean microfibre.

Voilà, the headlamp was now ready to be fitted and was hopefully winter proof. I have to say I'm super impressed by the GTechniq products, the lens stays clearer for much longer and is so easy to clean come wash time.
You can buy the GTechniq G4 Nanotech Glass Polish on Amazon here*, and GTechniq G1 ClearVision Smart Glass by clicking here*.
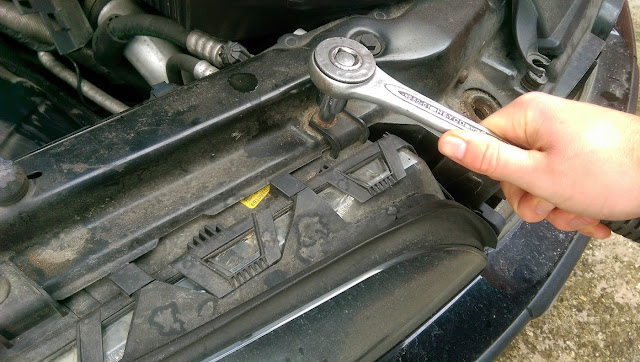
Moving outside, time to get the old headlamp out. Remove all the fixings with a socket and ratchet, even the one hiding on the inboard side in the depths of the front end. Mine were pretty corroded unfortunately, which meant the sockets were a bit of a sloppy fit.

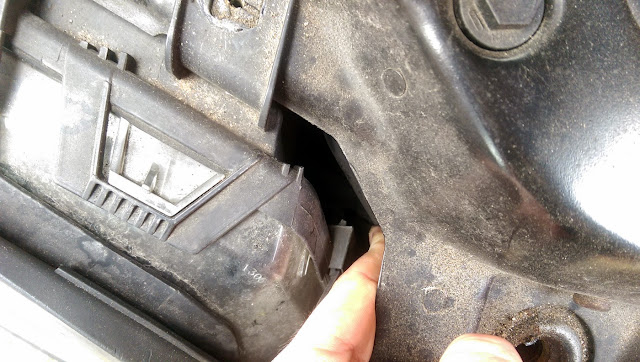
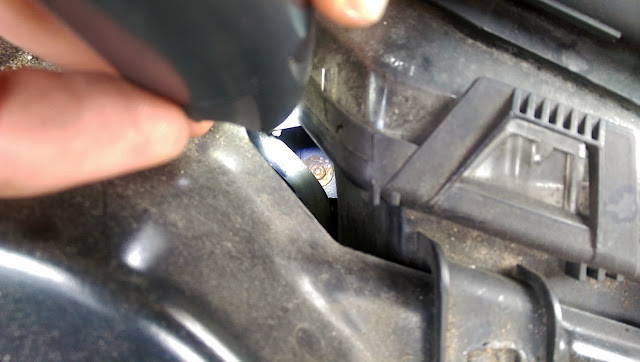
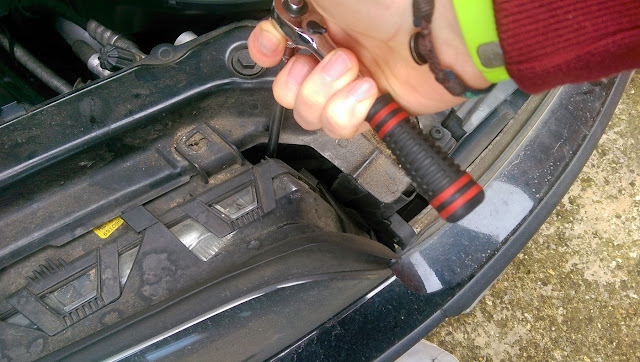
If you've got power wash like me, you'll need to remove the washer jet before you can take the lamp out. This bit is a little tricky (and unnerving). You have to pry the washer jet out enough to get a finger behind it, then pull it all the way out. The jet is on a tight spring pulling it into the bumper, it's very reluctant to be pulled out. Once pulled out you have to give it a sharp tug and it just pops off (innuendo bingo anyone?) Fully expecting the washer jet to cost a fortune to replace I was a little dubious to pull too hard. Anyway, after I'd manned up a bit it was off. (Please excuse the state of the car, it had rained for two months solid so the country roads were pretty crappy).
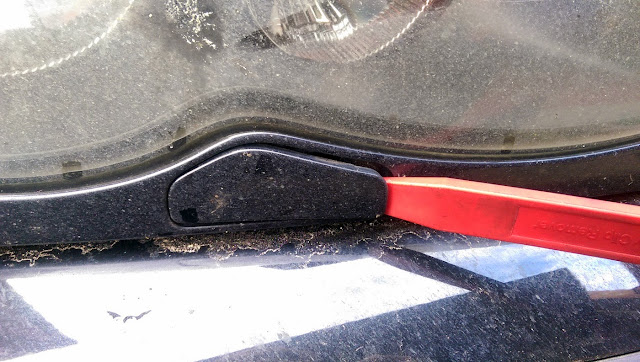

As you can see, the washer jet was far from clean, so I gave it a good degreasing.


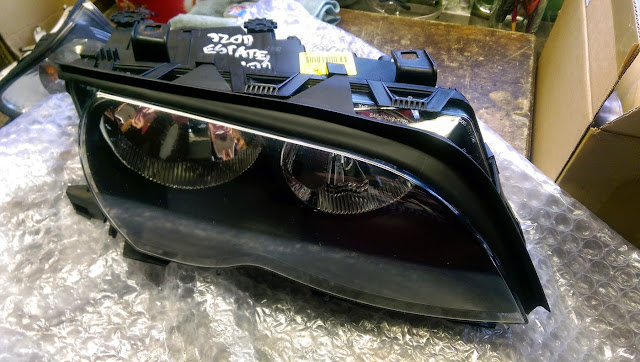
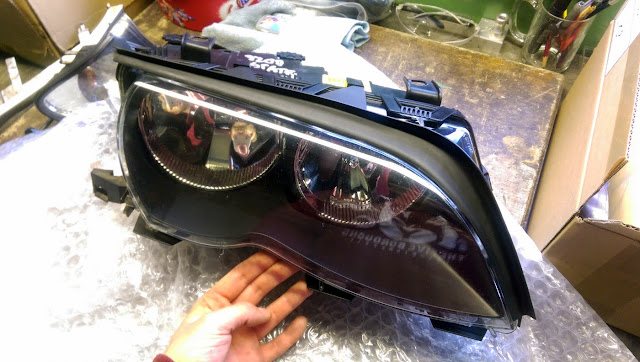
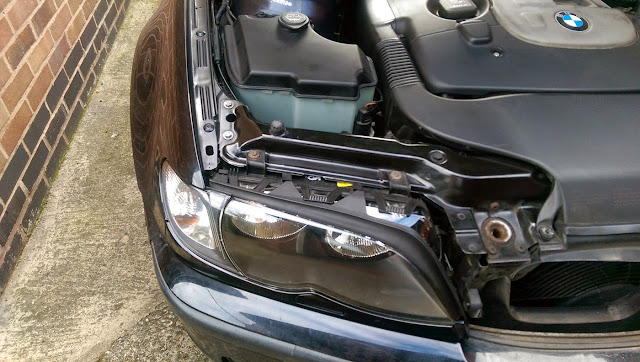
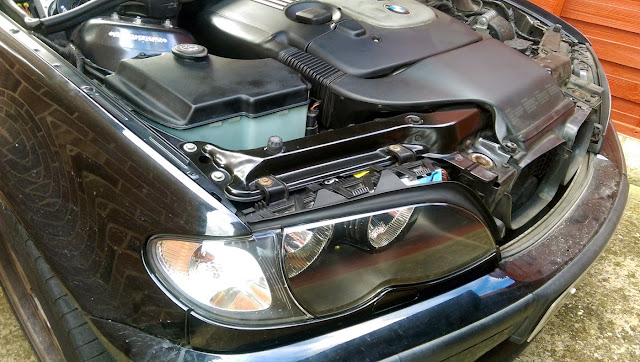
With the washer jet out the way the lamp simply slides forward and away from the car (providing you've disconnected the wiring). Here's the new one alongside the old one.

Some of the keener eye'd readers will notice the washer bottle had been removed too. My dad noticed the bottle had some sediment in the bottom and that this was an opportune time to take it out and give it a clean.
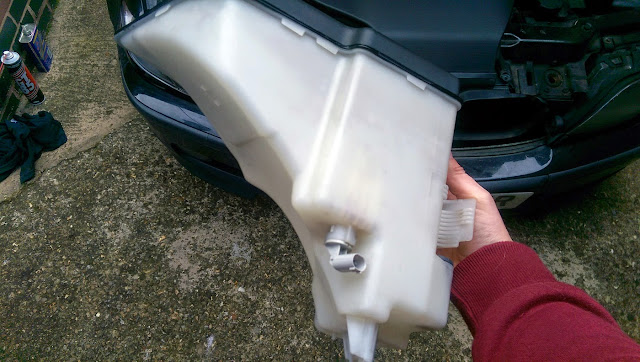

He went off to do that while I cracked on with giving the engine bay where the bottle and lamp had been a good clear out.


Everything all cleaned up, I could start putting things back together. The trickiest bit was getting the washer jet back on. You have to get some thin nose pliers and pull the telescopic tube out, get a hold of it then clip the washer jet on. Sounds simple but the thing is slippery and really quite strong.
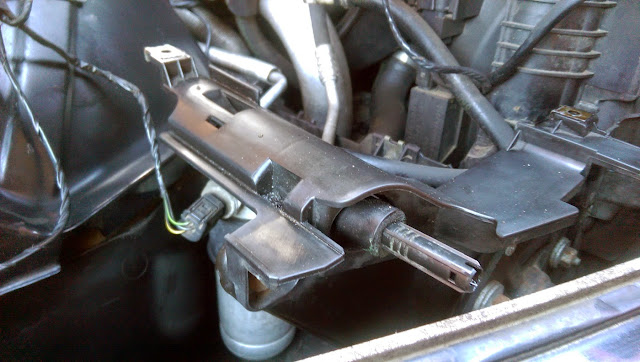
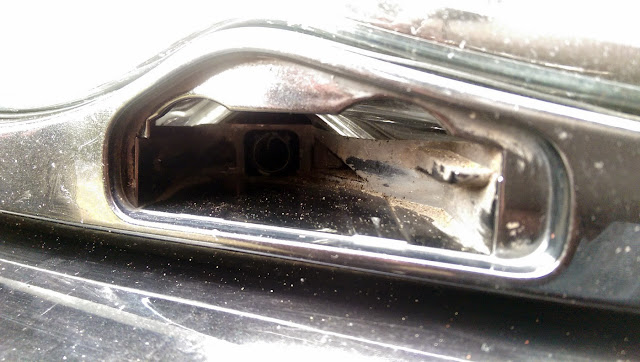
All that was left to do now was replace all the fixings and test it out. Thankfully it worked perfectly, and with the thoroughly cleaned lens I'd never been able to see so well in the dark.

5 Comments
Saw your as on Autotrader. Read your whole blog. Was ideally looking for one a little cheaper/lower mileage but your meticulous ownership has made me want it. I have £2,000. If this offer is of interest to you please let me know via Payynnee@gmail.com
ReplyDeleteCraig.
Hi Craig,
DeletePlease give me a call via the number on the advert and we can discuss.
Cheers,
Andy.
Hi again Andy,
ReplyDeleteI've only just thought to check back here for a response.
If you've still got it I'll give you a call tomorrow to arrange coming over on Friday evening if that's alright with you?
Where abouts are you based? Autotrader only gives a distance I'm assuming 'as the crow flies'
Thanks again,
Craig.
Hi Craig,
ReplyDeleteThe car's still available and Friday should be fine (time dependant).
Rather not post my location on the blog, but obviously happy to let you know during the call.
Look forward to hearing from you.
Cheers,
Andy.
Very informative, I have BMW X3 F25 I faced some problems in my driver module but I didn't take any risk and replaced it with a new https://xenons4u.co.uk/bmw-tms-headlight-driver-module-63117316214-7316185-7305232-7297431-7288410-7278389.html
ReplyDeletePost a Comment
Let me know what you think by leaving a comment below.