This post contains affiliate links. Please read my disclosure for more info.
Assessing the Extent of the Rust
Concluding my recent trio of cosmetic improvements, this post focuses on the repair of my oh-so-rusty rear driver's wheel arch.
Having warmed up by refurbishing the wing mirror cap and the roof ditch finisher, I was feeling confident in doing a fairly good job of the wheel arch (for a novice). Unlike the previous two jobs, this would involve some fairly scary preparation methods to achieve a decent result.
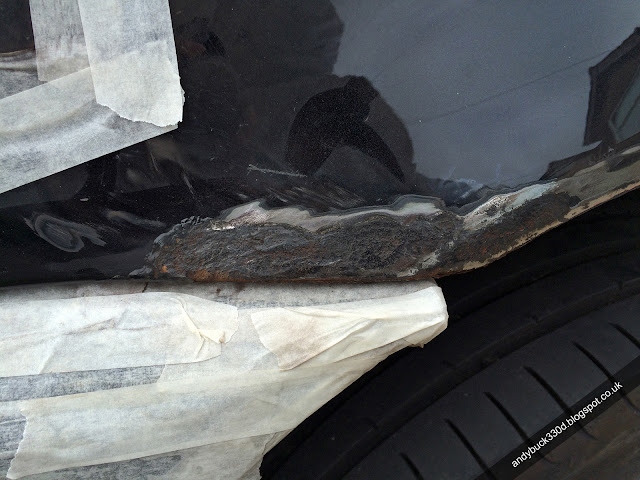
Let's take a look at what I was working with.

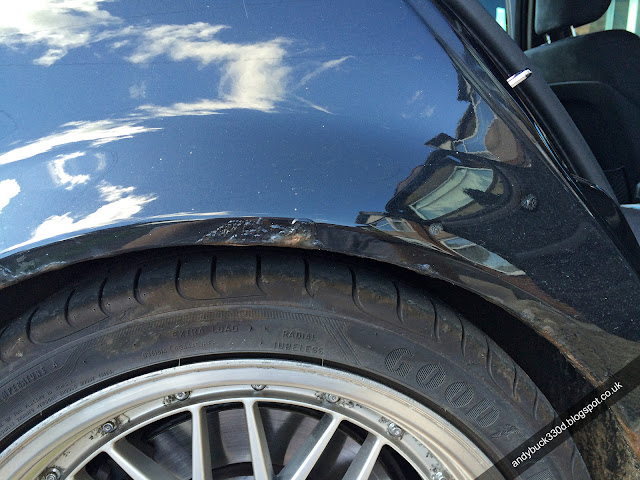

As you can see, tin worm had well and truly set up base camp.
The first job was to mask off the panels I didn't want to damage, namely the side skirt and rear bumper. In a perfect world, I'd have removed both of these parts, but I was limited for time and space.
Rather scarily, this was the first time I'd used the tools I was about to unleash on my pride and joy's paintwork. Nevertheless, to quote Del Boy "he who dares, wins".
Removing the Surface Rust
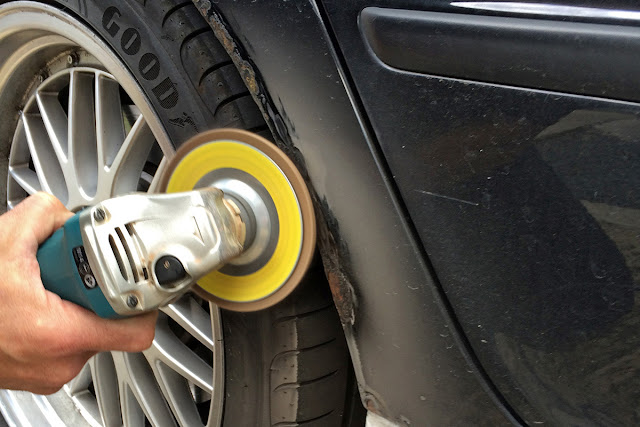
To tackle the worst of the rust I started off using a very abrasive flap sanding disc (no wheels or tyres were harmed in the making of this post).
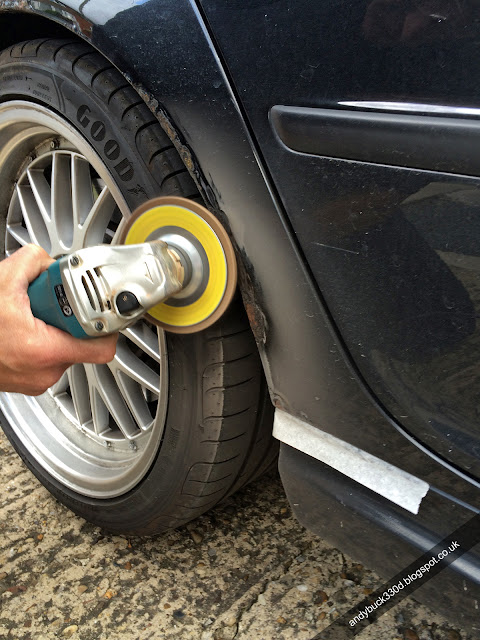

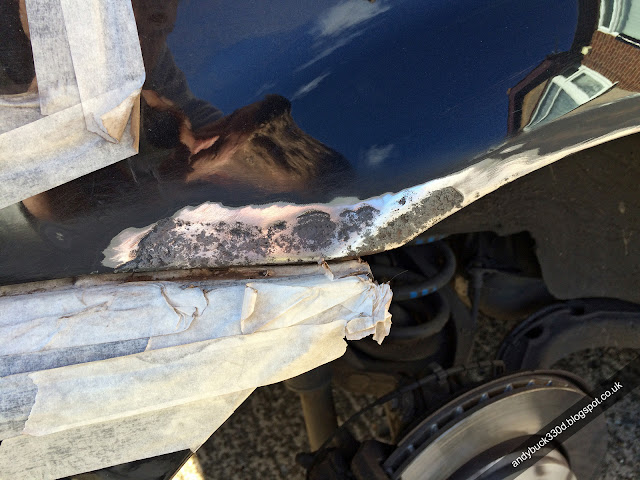
I then moved onto a smaller sanding disc to get to the hard to reach areas and to bring the bodywork back to a smoother finish. You'll notice I slid a metal plate into the bumper to body side gap to avoid sanding the bumper.
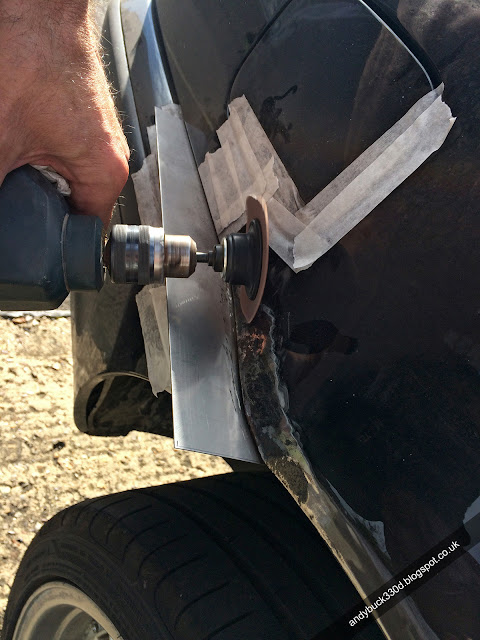
Scary bit done, you can see the various stages of sanding below. You might think that the 'final' condition isn't great either, however, there was still a lot of work left to do at this point.

Rust Removal Treatment
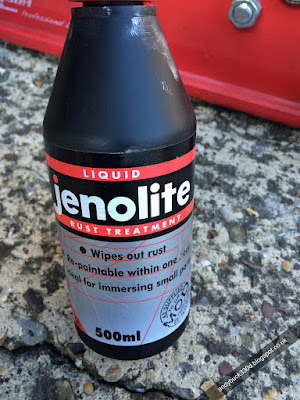
Once the surface rust had been removed, I wanted to do everything I could to stop the rust from returning. After scanning a few forums and sites on which rust treatments were recommended, Jenolite rust remover came up top. Hey, if it's good enough for the British MOD it's good enough for my 330d!
I bought a 500ml bottle not knowing how much I'd need, but really you'd get away with the 150ml if you're just treating rear quarter panel rust. It's quite thin stuff, so a little goes a long way.
You can grab a 150ml bottle on Amazon here*.
How to Use Jenolite Rust Remover
Quoting Jenolite's website, the process was as follows:
- Apply Jenolite Rust Remover directly to the rust.
- Wait 15 minutes, then apply a second application and immediately wipe dry with a clean cloth.
- The surface will be ready to prime in 30 minutes. Job done!
Applying Car Body Filler
Having hopefully sorted the rust out, the next task was to apply some body filler to smooth out the body work and return it back to it's former glory - handily I already had some U-POL Easy 1 in the garage.
You can pick up U-POL Easy 1 here* and the U-POL BPO hardener here*.

All I've got to say is, Ed China makes applying filler look a lot easier than it actually is. Applying a little at a time I filled all the necessary areas.


Sanding Process
Once the filler had fully hardened it was time to do some more sanding, this time by hand using wet and dry. It looks a mess in the photos but I was actually pretty happy with the finish.


Preparing the Surface for Paint
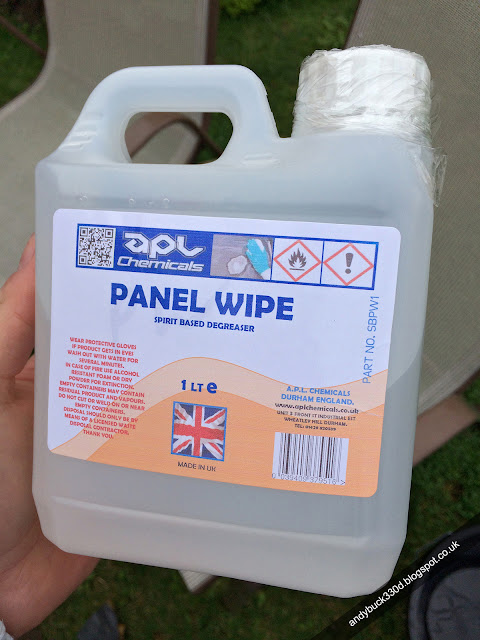
Prior to painting I used some panel wipe to clean off any contaminants on the surface, any dust, dirt, grease on the surface could affect how the paint adheres.
I got a 1 litre bottle from APL chemicals, the stuff works great, I've used it on loads of jobs now, not just before painting. APL have an Amazon store so you can grab a bottle here*.
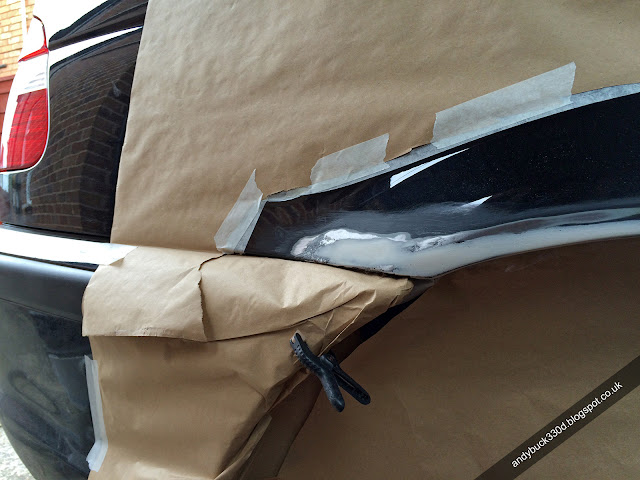
I also masked off the area I was going to paint and the surrounding parts, don't skimp out on this part of the prep work, paint gets everywhere. My plan was to 'blow in' the edge of the wheel arch and match the paint to the body side. In hindsight, I should have resprayed up to the feature line in the body side and all the way back to the rear lamps. I'll explain why later.


Paint Process
I followed the same three coat process I used on the wing mirror cap, dusting on the first coats of each paint (primer, colour and lacquer) then applying heavier coats. Again, I used Halfords rattle can paints, professionals and enthusiasts will shudder when they read that but this fix was done on a budget with the tools available.


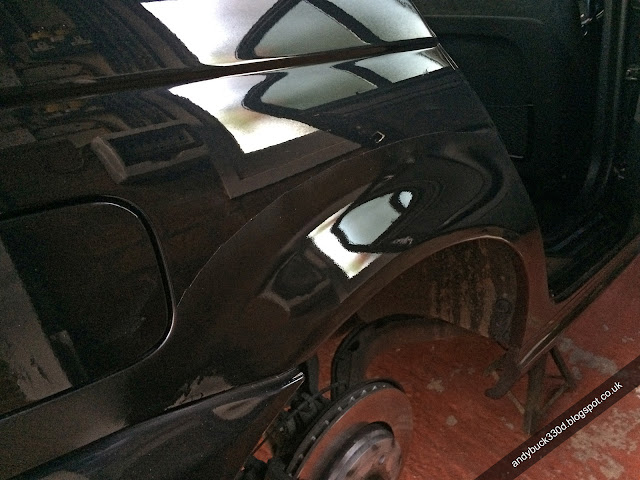
Despite not painting up to the mask line the step in the paint at the mask line was quite big, clearly noticeable, something I hadn't expected.
I always knew I'd need to blend the edge in but didn't realise quite how much blending would be required. Carefully, using some 1200 grit wet & dry, I sanded the edge until it was in-perceivable.

Final Polish and the Results
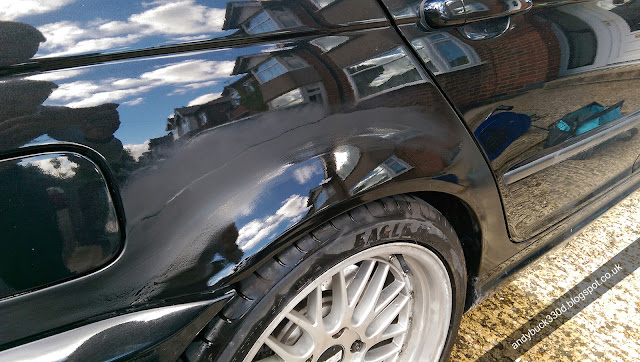
Finally, using my DAS 6 PRO, I polished the paint back to a gloss, also correcting as much of the orange peel effect as possible.
Fortunately, (or unfortunately) it was bright sunshine on the day I did the polishing. Even after I'd finished you could see the 'tide' mark where the two paints blended together, the Halfords paint not entirely matching the original. It's for this reason, if I were to attempt the job again I'd have sprayed all the way up to the feature line to mask the paint blend edge.
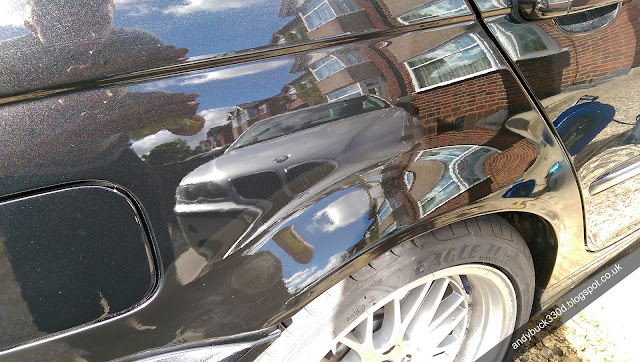
Having said that, it was only visible at that angle in direct sunlight, any other light or angle and you couldn't see it, so I was pretty darn chuffed. Was it body shop quality? No, definitely not. Was it good enough for a job that cost under £20 on a car worth only £2k, absolutely yes.
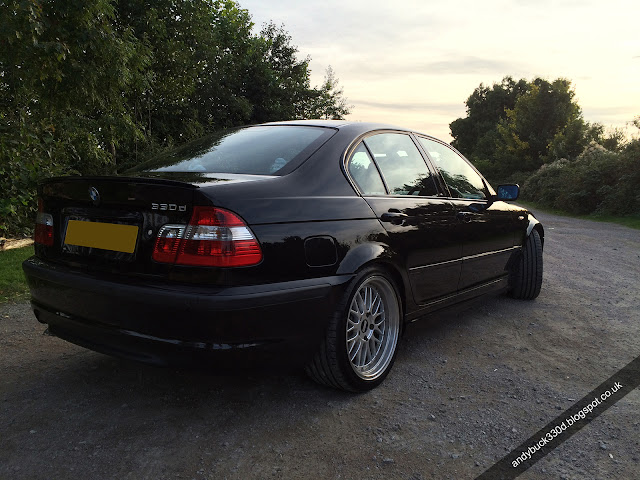
Let me know in the comments below what you think. Have you had a go at rust repair on your E46?
Make sure to follow me on Facebook, Instagram and YouTube, search andybuck123, for plenty more content to come!
8 Comments
Hey Andy. Fantastic post. It looks like my 330d is starting to do the same around the rear wheel arches. Must have been from the wet winter we had. Did you waxoyl any of the underside of the body?
ReplyDeleteHi Colin,
DeleteThanks, glad you liked it!
Unfortunately it seems to be a bit of an Achilles heal of the E46, my Dad's has gone the same.
As for applying waxoyl, I didn't as it was just a cost effective 'quick' fix, but have always been intrigued to have a go. Like I mentioned in the post - if I was to do a 'proper' job I'd have removed the sill and bumper, fully degreased and cleaned up the inner wheel arch. Then applied a waxoyl type coating.
If you do give it a go be sure to let me know how you get on.
Cheers,
Andy.
Thanks Andy. I may give it a go although the task looks a but daunting. Will have to leave for another long weekend where the wife can take the kids out for a full day. You (nevermind Ed China) make all these things look like it would be an everyman job 😂 just looking at your blogs, have you gone to the dark sidw and bought an Audi?
ReplyDeleteHaha, definitely long weekend material this job. Honestly though, if you take your time and stick to the product directions, you'll do an alright job. Everyone's got start somewhere, this was the first time I'd seen a flap disc let alone used one.
DeleteAh, quite the investigator, I have indeed gone to the dark side, and it's damn good. 2010 Audi S5 Sportback (Supercharged V6). A blog will be coming in the near future, but for now I'm concentrating on my older cars.
Cheers,
Andy.
Hi Andy, great write up. My Estoril Blue 325 is just going on both rear arches and keen to do it myself too. How has yours lasted since you did it, if you don't mind me asking
ReplyDeleteCheers
Liam
Hi Liam, thanks for the comment!
DeleteSorry for such a late reply, Blogger isn't sending me notifications of new comments.
Unfortunately I actually sold the car not long after doing the repair, so couldn't comment on the longevity of the fix I'm afraid, sorry. It was absolutely fine for the few months I had it though.
Hope you managed to get yours sorted pal!
Managed well
ReplyDeletelook great just bought myself a 2004 320d and this is a big problem on mine, definitely going to need a bit of welding on some part but this is exactly what I was looking for with the other parts that aren't so bad. with the sanding and polishing how much time did that take because I'm either doing that part myself or asking (forcing) my cousin to give me a hand
ReplyDeletePost a Comment
Let me know what you think by leaving a comment below.